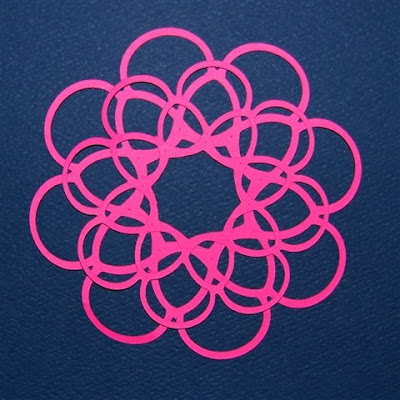

Last October I did a file for a Tag Star using a tag from the Wedding cartridge (here is a
LINK to the post) - these are formed by overlapping silhouetted tag shapes and trimming the points to produce a star shape. The photo at the left is the first tag star I designed.


In December, I did two additional versions by request of a reader, using the Tags, Bags, Boxes and More cartridge (here is a
LINK to the post for the star and a
LINK to the post for the snowflake).
I recently had a request from another reader for a tag star similar to one she had seen on a card - I don't have the photo to post here (and I couldn't use it since it isn't my photo) but the card had a double layered eight pointed star made from diamonds which met directly at the center. If I can get a link to the original design I will try to add it to this post.
At first I thought this would be a simple star to put together, but then I remembered that the diamonds available on the cartridges are of an unusual dimension - the angle is larger than 45 degrees so the eight sided version would not work using a predesigned diamond.
I needed to build the design in pieces. Unfortunately, since elements needed to be turned at angles, I could not make this an adjustable design. However, I did spend the time to do it it three sizes and in both George and Plantin Schoolbook so it would be useful to many people. You can even cut this with only the trial version of the design studio software.

Here is a photo of the three sizes of stars these files will produce.
In order to waste less paper, I adapted the design to eliminate most of the extra length on the points so only slight trimming is required. Below is a photo of the stars before trimming - you could actually use them this way if you like the look!

It is easiest to trim the points by using small, sharp scissors and cutting toward the center - first going around the design in one direction...

So the star looks like this...

and then trimming toward the center and going around the star in the opposite direction.
Below is a photo of the remainder of the paper after removing the stars - another interesting design

Due to the slight difference between the uncuttable area on the baby bug mat and the Expression mat, if you try to cut the George file on the Expression you will have to do a bit of trimming.
Below is a screen shot of the star on the baby bug mat

and a screen shot on the Expression mat - notice how the uncuttable border is a bit wider.

For the Plantin Schoolbook file I moved the design but, I know that some people have the Expression and George but not Plantin so you would need to do a small amount of hand trimming - the cut will look like this on the mat

Trim each side on the angle toward the center


and then carefully remove the cut from the mat (I used my favorite wide putty knife for the job).

(all of the above is irrelevant if you cut the Plantin version on the Expression mat!)
Here are some photos of the various sizes and colors layered to give you some ideas....

Two cuts on a card front

Triple layers in two colors

Same sizes layered in two colors - yellow on top

Same sizes layered in two colors - purple on top

Triple layer variations
I decided to adhere vellum to the stars to build an ornament for a card. I used my Creative Memories Precision Point Adhesive and dotted it on the back side of the frame

When the adhesive dried to clear I adhered the stars to some vellum (this was office supply vellum and not as pure white as I would like but I used it for the test version).

Then, once again trimming toward the center, I cut away the excess vellum

When they were trimmed, I gently curved up the edges...

and then placed the smaller one in the center

Here is the unadorned star on a 5 x 7 card..

I first tried putting the layers together with a foam dimensional

However, I thought it was a bit too high and the center moved out of alignment easily, so I decided to use several glue dots on top of one another to adhere the center - this seemed to be more stable.

If you happen to have this paper stack from last year

....you could even try fussy cutting and adhering the stars on top of the printed stars for an interesting effect.

You can go on to add as much or as little bling as you like - be sure to let the Stickles dry completely or you may end up with a few smears (as I did since I was in a hurry to finish this to photograph and post!)

Don't throw away all the little leftover triangles - you can use them for another project!

There are so many possible variations - I'd love to see some of the cards and ornaments you might make using these cuts.
 Eight Pointed Star - George
Eight Pointed Star - Plantin Schoolbook


