
A couple of years ago, I found some great printable patterns for carving pumpkins on the Better Homes and Gardens website. Many of these can also be easily adapted for paper cutting patterns. You can find the patterns HERE on the BH&G site. If you haven't carved a pumpkin yet these patterns could make you look like a pumpkin carving genius!

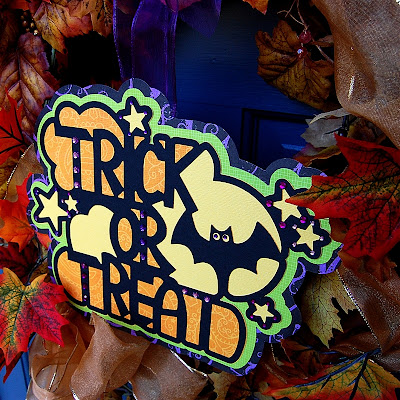
I made this sign from one of the patterns using the Silhouette software in 2012. You can't make exactly the same project with Design Space because there is not an offset function in the program (this has been requested by many people for a future update).
You can use the same design to create a different project in Design Space. The file that you download from Better Homes and Gardens is a PDF. This is not a format that you can upload directly to Design Space. I took a screen shot of the design and uploaded the PNG file from the screen shot to create a file for a card topper.
Here are the steps you can use to make a file for a card topper. Upload the PNG screenshot of the design using the Basic Upload option.

The image of the design shows the areas to be cut away for the pumpkin carving. You are going to "carve" the same images from a piece of paper. Use the "magic wand" and click on the outer area of the image to eliminate all of the background.

After you click on the background the pieces that need to be cut will remain.

You can click on the eyeball at the top right to see the red cutting lines. This is a good way to check to be sure that the design you are uploading is correct.

You should not check the box for preserving the image - that is used for Print Then Cut projects and this is a plain design. Make sure to title the file and add some tags so you will know the source of the image.


After slicing, you will have a rectangle with the design cut out. When this is cut, it will be ready to place on an A2 card.

Be sure to cut the design from a bold color and place it on a card base that contrasts well so the design will be easy to see.
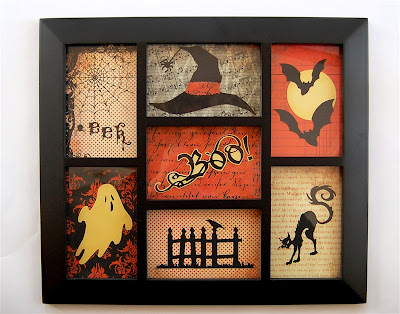
Here are a few other Halloween projects that you may have missed. Click on the photo to go to the post about each project.


Are you ready for Halloween? Our weather is definitely becoming more seasonal. I hope that it will not be too cold for the Trick-or-Treaters on Friday night.
Subscribe to Capadia Designs if you would like to have new posts delivered directly to your email.
This post may contain affiliate links. If you purchase a product using the link I may receive a commission. I only participate in affiliate programs for products that I use or can recommend without reservation
Very cute projects Diane! Thank you for sharing!
ReplyDelete